Shopify: registration of a new user
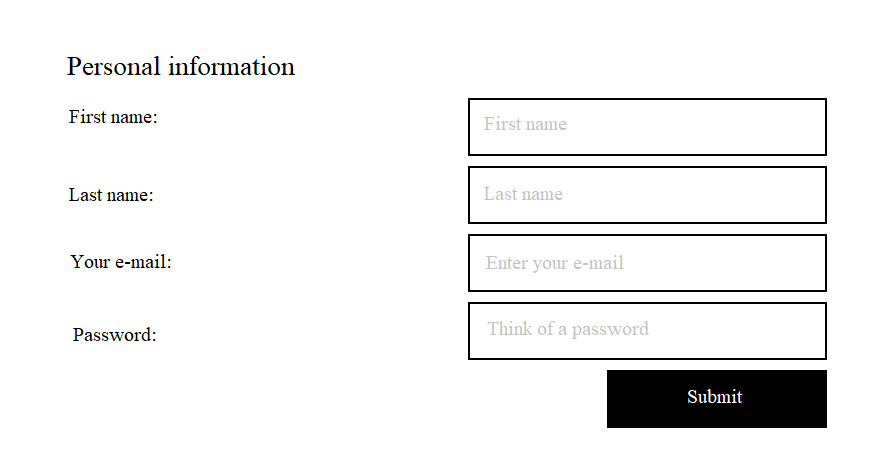
Let’s find out how to register the new user in Shopify. We will work with this form:
We have the template, which is responsible for registration of the new user, and it is located in templates/customers/register.liquid. If you don’t have it, you can create this file via the admin panel in the theme editor (it goes by default in slate, but it’s a completely different story).
1.Creation of register.liquid file
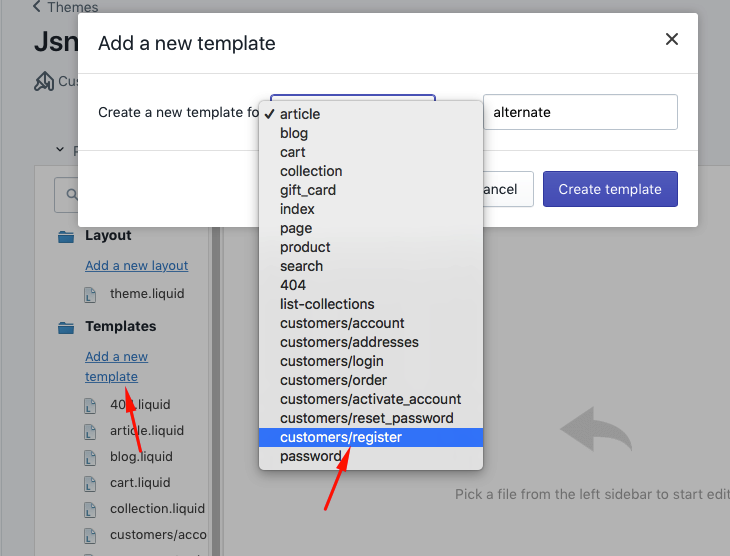
Let’s go to your current theme in the admin panel, click Actions > Edit code.

After that, we create a new template by clicking the button ‘Add a new template’, select customers/register file from the drop-down list and click ‘Create template’.
 Delete everything that you see in this file.
2.Creation of a structure
So, the first step we need to do is to create an appropriate structure.
Add the following code in the register.liquid file:
<h3 class="form_title">Personal information</h3>
<ul class="form_list">
	<li class="form_item">
		<label for="first_name" class="form_label">First name:</label>
		<input type="text" placeholder="First name" id="first_name" class="default_input">
	</li>
	<li class="form_item">
		<label for="last_name" class="form_label">Last name:</label>
		<input type="text" placeholder="Last name" id="last_name" class="default_input">
	</li>
	<li class="form_item">
		<label for="email" class="form_label">Your E-mail:</label>
		<input type="email" placeholder="E-mail" id="email" class="default_input">
	</li>
	<li class="form_item">
		<label for="password" class="form_label">Password</label>
		<input type="password" placeholder="Password" id="password" class="default_input">
	</li>
	<li class="form_item right_mod">
		<input class="btn" type="submit" value="Submit">
	</li>
</ul>
In Shopify we have a lot of forms for different needs. For example, the form for registration of a new user, authorization form, account activation form, and so on. In this article we will review the form, which is designed to register a new user. The next what we need to do is to add the form to our markup, and you can do this with form tag.
{% form 'create_customer' %}

{% endform % }
The result should be as follows:
<h3 class="form_title">Personal information</h3>
{% form 'create_customer' %}
	<ul class="form_list"
		<li class="form_item">
			<label for="first_name" class="form_label">First name:</label>
			<input type="text" placeholder="First name" id="first_name" class="default_input">
		</li>
		<li class="form_item">
			<label for="last_name" class="form_label">Last name:</label>
			<input type="text" placeholder="Last name" id="last_name" class="default_input">
		</li>
		<li class="form_item">
			<label for="email" class="form_label">Your E-mail:</label>
			<input type="email" placeholder="E-mail" id="email" class="default_input">
		</li>
		<li class="form_item">
			<label for="password" class="form_label">Password</label>
			<input type="password" placeholder="Password" id="password" class="default_input">
		</li>
		<li class="form_item right_mod">
			<input class="btn" type="submit" value="Submit">
		</li>
	</ul>
{% endform %}
Here we wrap our markup with the tag form, which is responsible for creating a new user. Next step is to add attribute name with appropriate values in our inputs.
We should get following:
<h3 class="form_title">Personal information</h3>
{% form 'create_customer' %}
	<ul class="form_list"
		<li class="form_item">
			<label for="first_name" class="form_label">First name:</label>
			<input type="text" placeholder="First name" name="customer[first_name]" id="first_name" class="default_input">
		</li>
		<li class="form_item">
			<label for="last_name" class="form_label">Last name:</label>
			<input type="text" placeholder="Last name" name="customer[last_name]" id="last_name" class="default_input">
		</li>
		<li class="form_item">
			<label for="email" class="form_label">Your E-mail:</label>
			<input type="email" placeholder="E-mail" name="customer[email]" id="email" class="default_input">
		</li>
		<li class="form_item">
			<label for="password" class="form_label">Password</label>
			<input type="password" placeholder="Password" name="customer[password]" id="password" class="default_input">
		</li>
		<li class="form_item right_mod">
			<input class="btn" type="submit" value="Submit">
		</li>
	</ul>
{% endform %}
Here we simply describe each field what is responsible for. To see the form we have just created, go to yourshop-name.com/account/register. After filling all the fields and clicking Submit, your account should be created. To check whether it is so, enter into the section Customers in your admin panel and look if there is the account you have just created in the list.
That’s all, our registration form is completely done. You need only to stylize it and everything will be perfect.